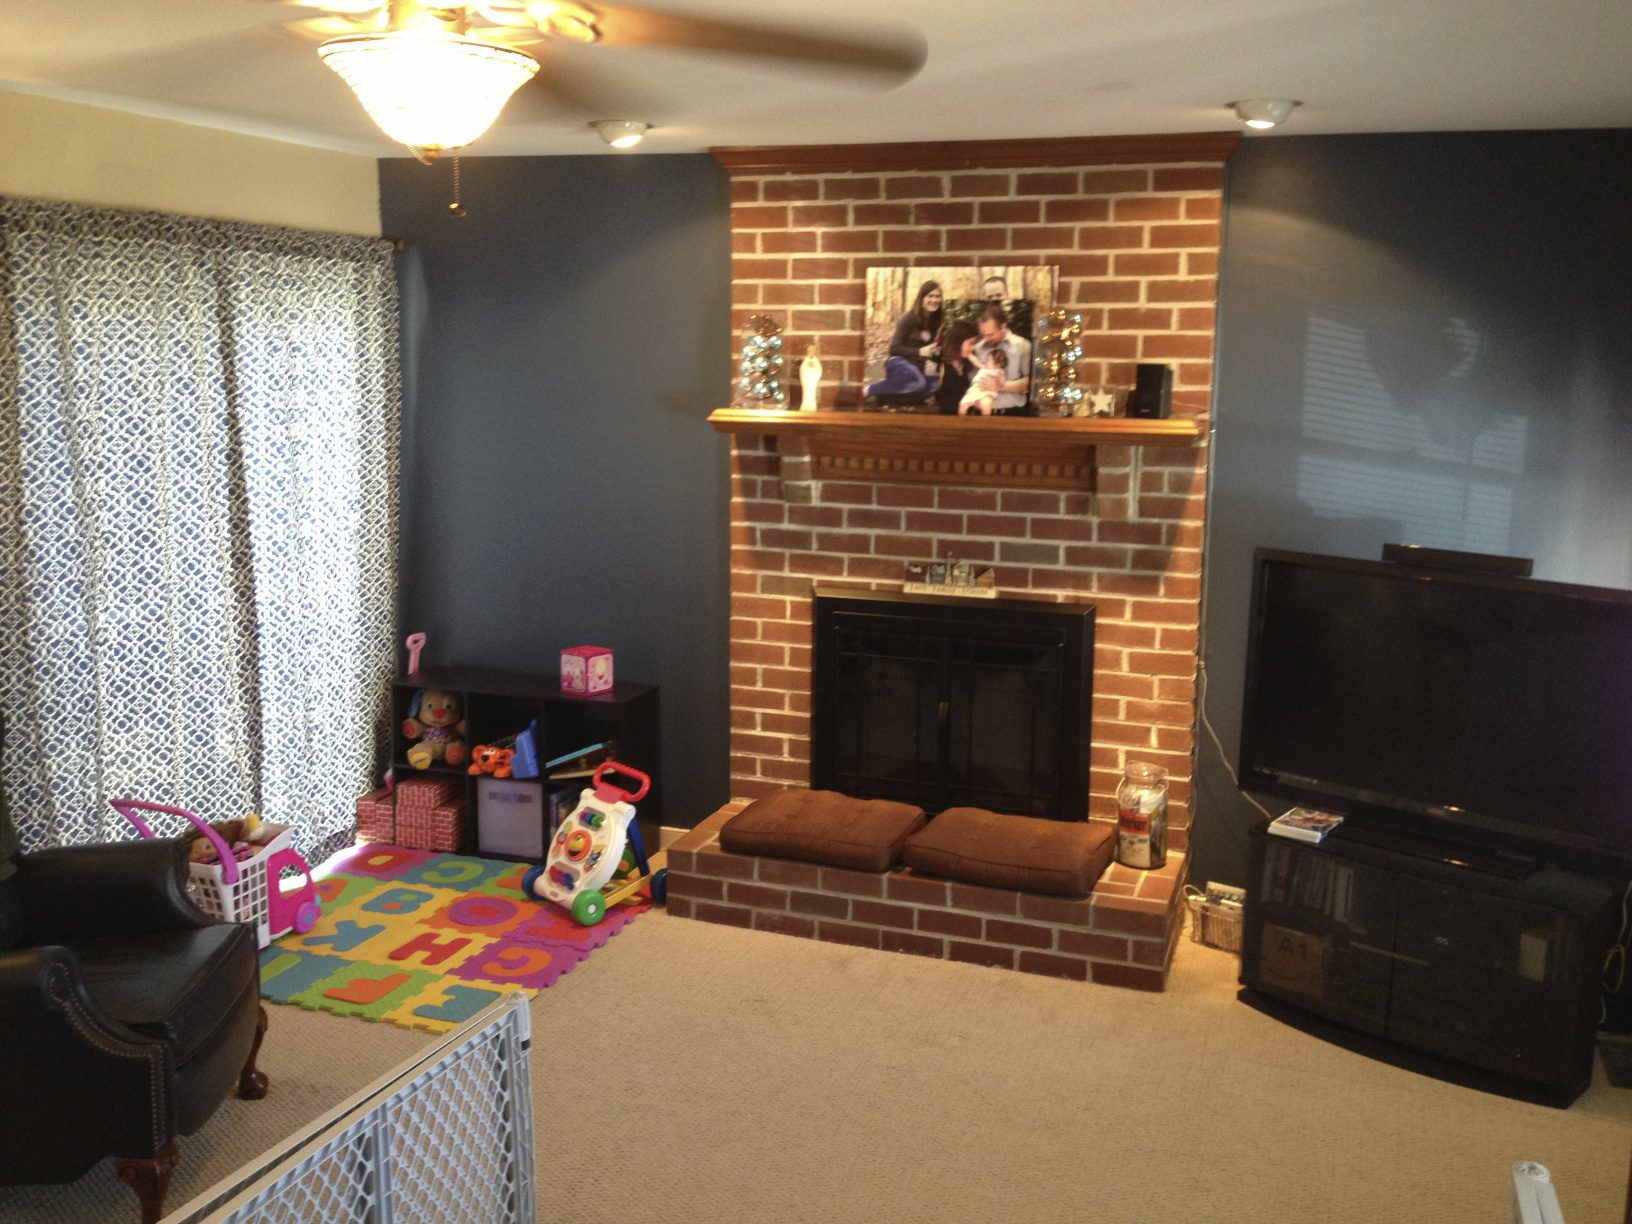
The reason we loved our house was the wide open floor plan. The entire living area of the house flows from one room to the next.
And all the walls were the same color. Were.
With bowl games going on around us (see TV — it’s always good to have some entertainment nearby), we set to work transforming the living room with a simple update and some curtains.
For the first time since we moved in, we have curtains in that room.
And all this only required 5 trips to Lowe’s.
 Step 1: Curtains
The first trip to Lowe’s brought us one curtain and a handful of paint samples. After we put them side-by-side for comparison (left), we decided the  curtain fit right in, and it was obvious which paint color was the best fit.
“Which paint color was that?” you might be asking. The one recommended on the back of the curtain’s package. Yup, no need to overanalyze things here.
Notice that T liked being in the middle of this project. Good thing we started just before her bedtime. There is such a think as “too much help.” My grandmother called it “hindering.”
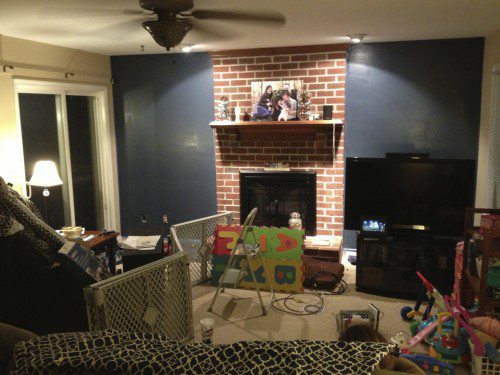 Step 2:
We’re not wasting any time here, people. Let’s get to painting!
I have had this problem in the past of not painting enough. You put just enough paint to see the color, but not enough to cover up all of the little spots of the old color underneath.
Not to worry this time.
Paint.
Edge.
Dry.
Edge.
Paint.
Dry.
Touch up.
But now I have a new problem: not pressing the painter’s tape all the way down.
It really was good painter’s tape. Just a little operator error.
Tip #1: When you put down the tape, press it down all the way. Nice and tight.
The Final Product
Six hours later, and a few touch-ups the next day, and we were in business. The furniture was back in place, T had a new play area and we get to marvel at what we accomplished every time we sit down to watch TV.
